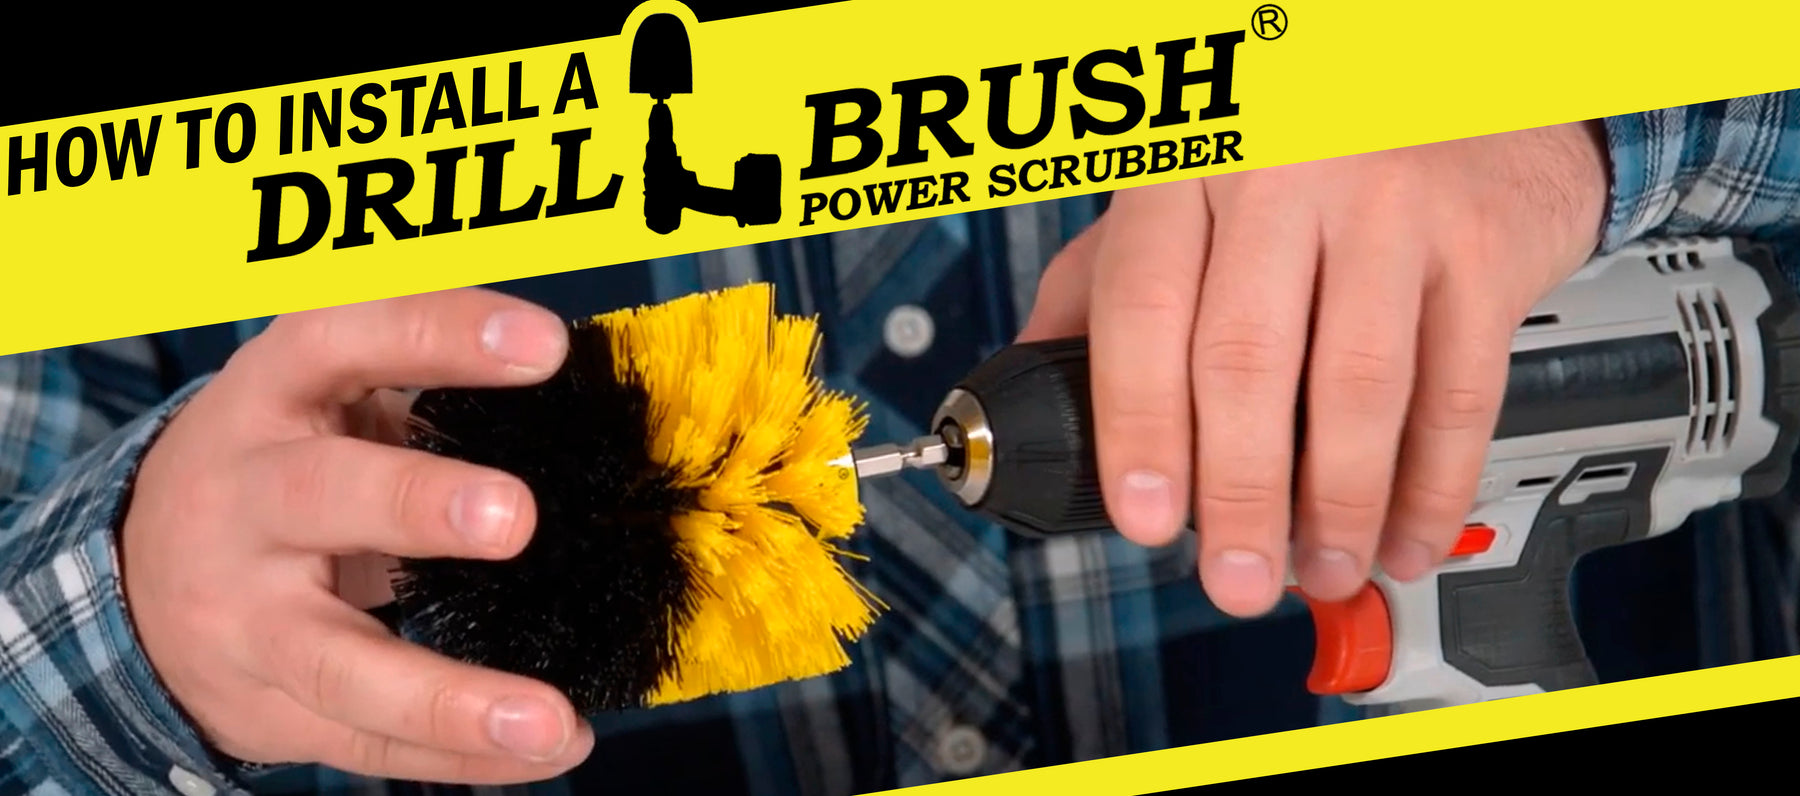
How to Install a Drillbrush Power Scrubber on a Cordless Drill
How to Install a Drillbrush
Drillbrush Power Scrubbers make cleaning fast, easy, and accessible. They inspire everyone from the seasoned DIYer to the cleaning novice to start scrubbing with speed.
However, the marriage between spring cleaning and power tools can lead some less savvy individuals to be thrust into a space they may not know a lot about.
While this may shock some of the handier among us, some people do not have much experience with cordless drills, and thus, may struggle to get started when wanting to try out a Drillbrush for the first time.
If you’re new to Drillbrush and not particularly well-versed in operating a drill, then this article is for you. We’ll go over how to install a Drillbrush Power Scrubber in a cordless drill, as well as installation instructions for some of our more specialized products to help get you started on your drill-powered cleaning voyage.
The Brush
The Brush
 The anatomy of a Drillbrush!
Our brushes have three primary components; the bristles, the plastic block, and the stainless steel shaft. The shaft, which is molded into the plastic block, is what allows the brush to attach to a cordless drill.
On most of our brushes and accessories, the shaft featured is a 1/4 inch quickchange shaft. This is one of the most common shaft types, which makes it compatible with pretty much every standard cordless drill.
Most will find themselves with a quickchange brush, but some of our brushes feature different shafts. The 5 inch Hex brush has a 5/16 inch hexagonal shaft which is only compatible with adjustable chuck drills, the 5 inch Threaded brush has a 5/16 inch, 24 threads per inch shaft built for use on rotary polishers, and the 7 inch industrial brush has a 5/8 inch, 11 threads per inch nut that can be screwed onto a variable speed polisher. You can learn more about Drillbrush shaft types in our article on the subject.
We’ll go over installation instructions for these edge cases at the end of the article, but for our purposes, we’re going to go more in-depth on the quickchange brushes.
Compatible Drills
Compatible Drills
 Examples of standard cordless drills.
As most brushes utilize a quickchange shaft, practically every standard cordless drill you would normally use for drilling holes will work. Drillbrush does not sell cordless drills, so you will need to own one yourself before you can use our brushes. If you don’t already own a drill,we wrote a guide on selecting the best drill if you aren’t sure what to get.
Quickchange and Hex brushes are compatible with adjustable chuck drills, which are drills where the bit is secured by tightening the front of the drill. Quickchange brushes have the added bonus of fitting in impact drivers, which are higher RPM tools that utilize a sleeved chuck. Installation instructions for both drill types are in the next section.
While Drillbrush products can technically fit, you should not use Drillbrush in corded drills, as they lack the proper speed control to operate the brush safely. They also, by being corded, have an electrocution risk if you are cleaning near water. All and all, we recommend you NOT use a corded drill for drill-powered scrubbing.
Threaded shaft and Threaded nut brushes are built for rotary polishers and variable speed polishers respectively. These two are more complicated to install, so we’ll go into those at the end.
Installing a Quickchange Brush
Installing a Quickchange Brush
 Installing a Quickchange brush in a cordless drill.
To install a quickchange brush in a cordless drill with an adjustable chuck, simply insert the brush’s shaft into the opening at the front of the chuck. Then, turn the chuck to tighten the “jaws'' that hold the brush in place. If done correctly, the brush should be secure in the drill. To remove the brush, turn the chuck the other way to release the grip on the brush.
 Installing a Quickchange brush in an impact driver.
Impact drivers are even simpler. Insert the shaft of a quickchange brush into the opening of the sleeved chuck. It should slide in without issue and lock into place. To remove the brush, slide the sleeve on the chuck back towards the drill. This will release the shaft, allowing the brush to slide out.
Installing a Hex Brush
Installing a Hex Brush
 5 inch Hex brush being installed on a cordless drill.
Hex brushes can be installed in an adjustable chuck drill just like their quickchange counterparts. Just insert it into the chuck and tighten it. Hex brushes, however, do not fit in impact drivers, so you are limited to just the standard cordless drill.
Installing a Threaded Brush
Installing a Threaded Brush
 5 inch Threaded Brush being installed on a rotary polisher.
Threaded shaft brushes are used on rotary polishers, but that’s not the only tool you’ll need to install the brush. Use a wrench to hold the opening on the polisher in place as you screw the brush in. You can then use the wrench to tighten it further, preventing the brush from coming undone while in use. Turning the brush the other direction will loosen the brush and allow you to remove the brush from the machine.
Installing a 7 inch Brush
Installing a 7 inch Brush
 Step-by-step instructions for installing a 7 inch brush on a polisher.
The 7 inch brush, with its threaded nut, is installed on a variable speed polisher by screwing the brush onto the polisher’s threaded bolt. Like the 5 inch Threaded brush, it is recommended to use a wrench to tighten the brush onto the polisher. However, unlike the rotary polisher, the variable speed polisher can spin much faster, thus, an additional step is needed.
The 7 inch brush comes packaged with two set screws and an allen wrench. On the sides of the threaded nut are two holes for the set screws. With the brush on the machine, use the allen wrench to screw in the set screws. These screws work to secure the 7 inch brush onto the polisher and keep it from coming undone.
You can remove the 7 inch brush by undoing the screws and unscrewing the brush from the polisher. As this is the most complicated installation method, we have a video that goes over it step-by-step with visuals.
Ready to Clean
Ready to Clean
Drillbrush products are just as easy to use as they are to install. Hopefully these tips helped you get your brush secured and ready to start scrubbing!
For more Drillbrush tips, especially if you’re new to the world of drill-powered scrubbing, check out our FAQ page, as well as our tips and trick videos for more advanced techniques.
Leave a comment