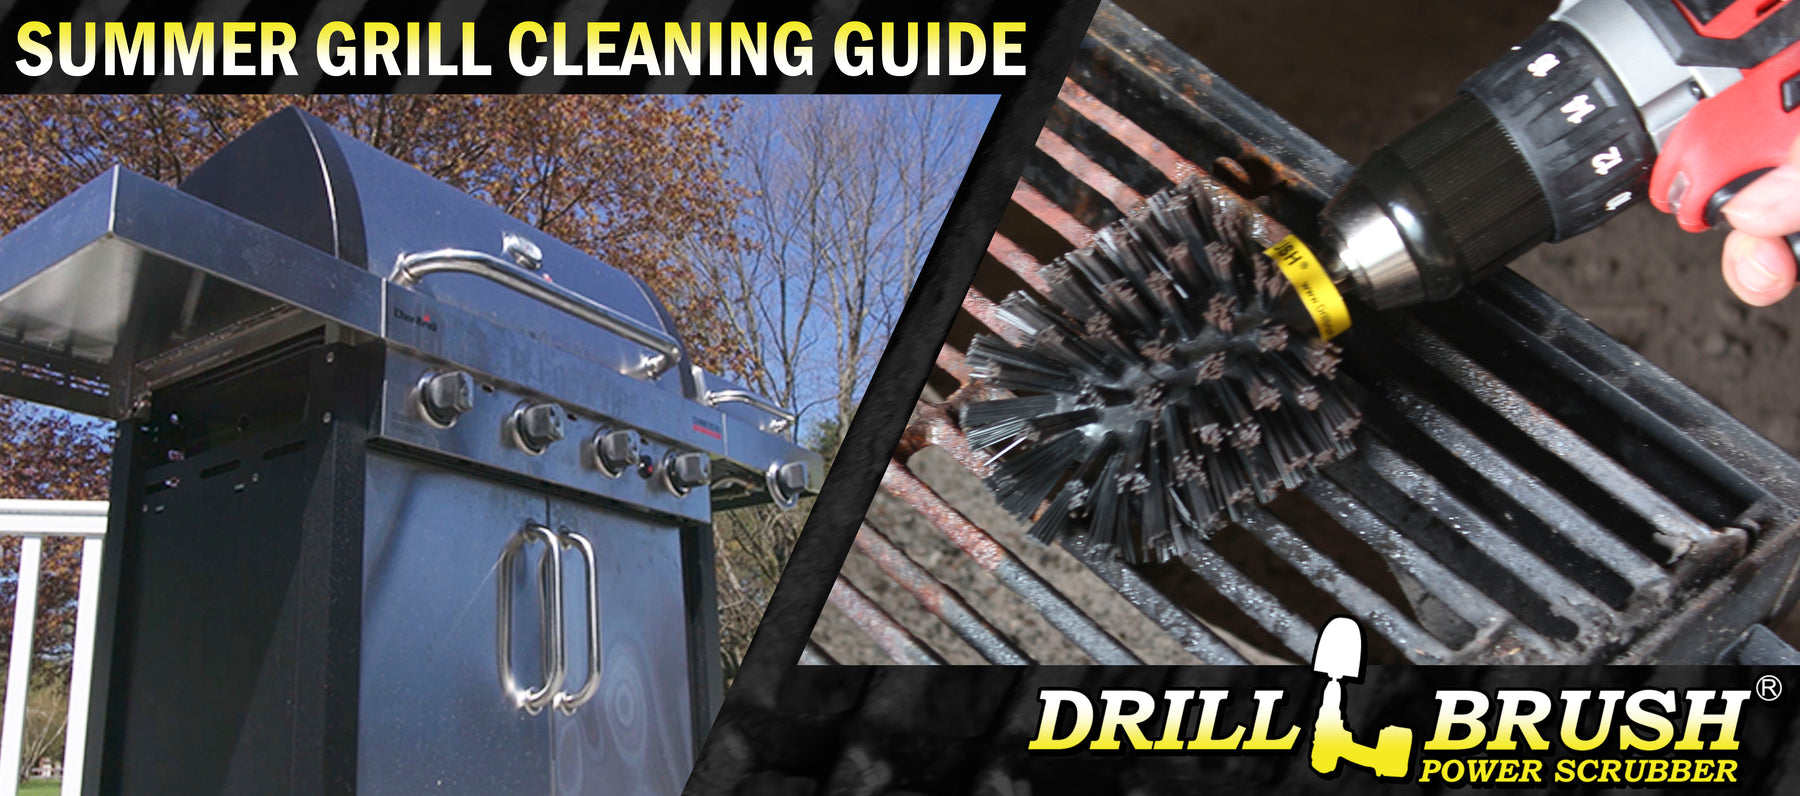
Make Your Grill Look Brand New with These BBQ Cleaning Tips
So You've Got a Dirty Grill...
Introduction
The sun is shining, the patio’s set up, and you’ve got a freezer stocked with food ready for grillin’-
“Uh oh!”
Over the course of the previous year’s festivities and the long winter that followed, your grill is looking a little worse for wear. Gristle lines the grill grates, the hood’s underside is caked in sticky black goo, and the exterior has been ravaged by the elements.
While things look dire, all hope is not lost. With this simple guide, you can clean like a champ and make your grill the envy of the neighborhood!
Grill Grates
Grill Grates
 Not looking so grate, eh?
Taking the brunt of the work is grilling ground zero, the grates. As the surface that sees the most grease and gristle, you’ll want to take great care in cleaning it.
Cleaners
Choosing a cleaner can be daunting, as you’ll need something tough enough to handle heavily baked on substances while also being food safe.
Luckily, most store bought grill cleaning solutions will be sufficient for the job. We recommend using alkaline degreasers specifically to help break up heavy grease build-up.
However, when using grill cleaners, always make sure you’re wearing gloves and carefully read the instructions and warnings on the bottle to make sure you’re using the right chemical and are using it properly.
 Serving Up Scrubbings!
Scrubbing the Grates & Burner Plates
Now that we have our cleaner, it’s time to start scrubbing!
Follow the instructions on the bottle and apply the cleaner to the grates. Depending on the cleaner, you may want to lay down a sheet of cardboard, remove the grates, and spray them down separately on the cardboard.
If you leave the grates on the grill, you may want to warm up the grates and let the cleaner settle for a few minutes before scrubbing to allow the chemicals to break down the gristle.
Once the grates are ready to scrub, make sure you go up and down each bar. Gristle can form all around the grate, and its dark color may blend in with the (usually) darker tones of the coating. Be thorough and occasionally feel (with a gloved hand) to see if there’s any residual build-up that didn’t get freed.
 Ooo! Pointy.
For what brush to use, metal wire brushes are a typical choice. They’re stiff and resistant to heat, which makes them useful for cleaning while grilling and for removing tough stains. However, their shape makes them a bit clunky for precise cleaning.
Scour pads can also work, as they’re coarse, flexible, and can get into tight spaces between the grooves, so long as you’ve got the hand power and patience, you can scrub away most build-up.
 The char chopper itself!
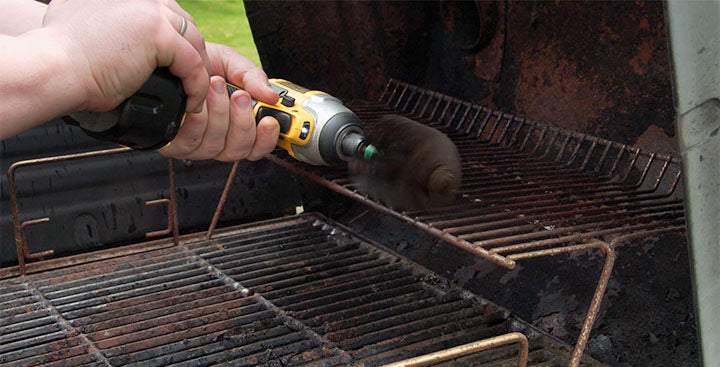
Drillbrush Ultra Stiff Black brushes also work wonders on grill surfaces. They have very stiff, non-scratch nylon bristles that utilize the power of a cordless drill to chip away at burnt-on substances without the strain of hand scrubbing. They also come in a variety of different sizes and shapes, making them versatile for any style of grates. However, due to their plastic construction, they can’t be used while the grill is hot.
When you’re done, use paper towels or a microfiber cloth to wipe the excess gunk and cleaner.
You can also employ many of the same strategies listed above for cleaning burner shields, as they sit just below the grates and can gather a heaping pile of flakes and grease. A scour pad or a drill-powered brush work very well for getting between the slats on certain shield designs, or for scrubbing the flat surfaces on others.
Season the Grates with Oil
Your doctor may have told you “prevention is better than cure,” and the same is true here. You can prevent huge messes from forming by seasoning your grates with oil before use. This will make food less likely to stick to the grates and discourage rust build up.
We recommend using sunflower, peanut, or soybean oil, as they have a higher smoke point that works better in high heat situations like grilling.
Now that we’ve cleaned the cooking space, let’s move on to the rest of the grill.
Grill Body
Grill Body
 Q: Where the hood, where the hood, where the hood at? A: Right there.
Under the Hood
We’ve taken care of the grates and the burner shields underneath, but what about the area above them?
Over time, the residue from burnt charcoal, splatter from the food, and other burnt-on nastiness will accumulate into a sticky, flakey mess on the inside of the hood. After enough uses, the high heat can cause it to chip off and fall onto your food. Not only does it not taste good, it’s not good for you either.
However, this mess can be very hard to get through and will require a lot of scrubbing if left long enough. Be sure to use enough degreaser and give it time to settle. It might take ages to scrape off by hand. Luckily, a flat Ultra Stiff Black Drillbrush like the one pictured above can help alleviate some of the struggle.
 Scrubbin’ on the side!
Side Burners
Some grills have a side burner to keep things hot while you're working on the main course. However, this piece can get pretty filthy as well.
Cleaning it is simple, however. Just remove the grates and covers and scrub along the inside with some cleaner and a hardy brush. For the grate itself, you can clean it just like the other grill grates if it needs it. Just spray it with grill cleaner, let it soak, and scrub the grime away.
 This bod’s a solid 10!
The Body
A well-kept grill is a signal of pride in suburbia. The smug looks the socks-and-sandals-wearing father-of-three next door will give as he assesses every little ding and speck on the outside of your grill will get real annoying real fast.
Not only will maintaining your grill’s frame get the self-proclaimed “grillmaster” off your back, but it will extend the life of your grill.
Spray and wipe the outer frame of the grill and wipe down all sides with a damp cloth. This removes any dirt, dust, or cooking runoff. Some thicker, caked-on messes may require a bit more elbow grease. A scraper or razor can pop those spots off, but if you’re worried about scratching the surface, you can use a non-scratch nylon Drillbrush and some degreaser to eat away at the mess.
On many grills, the knobs on the front can easily slide off. Removing these allows you to clean any particles that congregated underneath.
Clean all around the framework and wipe down the shelves, doors, and the outside of the hood. If your grill has a cabinet at the bottom, you’ll want to open it up and scrub in there as well. While it’s mostly protected, sometimes bits and pieces of gristle can snow down into the lower cavities.
 Grease is the word!
Grease Trap
Many grills have a grease catch that will fill up over time. Keeping an eye on it will help prevent grease fires, burns, and spills. After your grill has had some time to cool down, carefully empty the grease into a sealable disposable container like a freezer bag.
Grease should never be poured down the drain, as it can cause plumbing problems. Just throw it in the garbage.
 Down in the trenches.
Tool Rack
Some grills feature a rack or tray to hold utensils and seasoning bottles while you’re cooking. As you poke, flip, and sprinkle; splatter, dribble and particles can run off your tools and collect near the bottom.
Empty the tray, spray inside with cleaner, and wipe it out with a rag or paper towels. For tougher stains, use a standard scrub brush or a Drillbrush bullet-shaped Original brush on the walls and floor of the tray.
Cleaning this out will keep your tools fresher and your bottles less gummy.
 We’ve got this grill under wraps!
Grill Covers and Storage
Much like our earlier suggestion to prevent messes from occurring, we recommend getting a cover for your grill. These are pretty standard, and may come with the grill at purchase. Grill covers protect your grill from the elements and make it less likely for water to get in and cause the grates to rust.
You should also, if you have the means, store your grill away off-season. Bringing it inside or putting in a shed, garage, or basement will protect it further, especially if you live in an area that receives snowfall.
Charcoal Grills
Charcoal Grills
Most of the tips we’ve presented so far work for any type of grill; propane, charcoal, or otherwise. However, charcoal grills have additional elements that require their own cleaning regimen.
Clear Out Ash Pan
Just as you should frequently check the grease trap, you should always keep an eye on the ash pan on your charcoal grill. It’s easy to forget about it, but if it gets too full, it can keep air from getting to the charcoal. This can cause incomplete combustion, give a sooty flavor to your food, and increase the risk of carbon monoxide poisoning.
Using a towel to scoop out the ashes is the simplest method. Then, simply dispose of them in the trash and you’re all set!
 There’s soot afoot!
Smoker
Grills that include a smoker are becoming more and more common, and they come with their own set of maintenance requirements.
Keeping grease in check is a running theme for grill cleaning, and it’s not about to stop here. Make sure to clean up any drippings that have collected in the bottom of the smoker and dispose of them just as we covered before.
Something more unique to smokers is the chimney. Just like the one above your fireplace, it will need to be swept every so often. Use a stiff round brush with a long handle (or an extension if you’re using a drill-powered scrubber.) to clear away the built up soot.
Other Grills & Cleaning Opportunities
Other Grills and Cleaning Opportunities
We’ve covered your standard grill cleaning scenarios, so for most people, you’re all ready for BBQ season. However, there are some more obscure situations you can find yourself in, especially if you have an unconventional grill. Here are a few more tips for some niche cases.
 Science class told me these were igneous rocks! Or maybe metamorphic. Sedimentary?
Lava Rocks
Some grills use porous stones known as “lava rocks” to simulate the way charcoal grills distribute their heat. However, much like burner shields, these rocks will collect and soak up any grease and grime that falls into the grill.
Make sure if your grill uses these that you inspect your rocks every so often and replace them if they become too greasy. You can tell if they need to be changed if you notice flare-ups and excessive smoke while preheating the grill.
Flat Top Griddles
Some people don’t have a traditional grill, but rather a flat griddle surface. Though they may be different in form, much of the same tips apply.
It’s recommended to keep flat tops seasoned with oil to prevent food from sticking as it grills. It won’t prevent everything, though, so when you’re done cooking use a spatula, foam pumice brick, or a scrub brush to break up any excess gristle.
Rather than grill cleaner, a common trick used in the food service industry is to use a lemon juice solution to help break down stuck-on food.
When you’re all done, re-season it and you’re ready for your next flat top session!
 Lookin’ a little rusty...
Replace Rusted Sections
Sometimes your issue is beyond a good scrubbing (which saddens us at Drillbrush greatly.)
However, a rusted grate or chipped enamel doesn’t necessarily mean its time to buy a whole new grill. Some manufacturers sell replacement parts for their grills, so if you have the technical know-how to replace it, just check for the part you need online.
You can also buy an enamel repair kit if you notice chips in the enamel. It’s not a permanent fix, but it’ll keep long enough for you to scout out a replacement grill.
Ready to Grill
Ready to Grill
After a thorough cleaning, your grill is finally ready to start serving up mouthwatering burgers, hotdogs, kabobs, and a plethora of other summer treats!
Want more grill cleaning tips? We made a video showcasing ways you can use a Drillbrush to clean up your grill. We also make great grill-cleaning brushes that you can check out here if you’re interested.
Drillbrush Grill Cleaning Guide
Drillbrush Grill Cleaning Video
Comments
Leave a comment