Drillbrush’s Guide to Keeping Your Bathroom Spotless and Clean
Cleaning the bathroom. It’s never high on anyone’s list of “things I’d like to spend my weekend doing,” but alas, it has to be done!
It may be a bit daunting, and it definitely can be a chore, but with the right strategies, you can make sure your bathroom is looking beautiful with minimal hassle!
Clear Out Clutter
 Outta my way! There’s scrubbing afoot!
Before you start cleaning your bathroom, you should remove any bottles, toiletries, and decorations that might get in the way. You’ll have an easier time scrubbing with less obstacles in your path.
Plus, messes can be hiding behind these common household items. Clearing them out can help you catch gunk and grime you might have missed. You can also use this to clear out any old and outdated items that have been hoarding space on shower shelves or in your medicine cabinet.
Cleaning the Tub / Shower
 Scrub-a-dub-dub, we’re cleaning the tub!
While you’re washing up, in your bathtub or shower, it’s getting dirtier! Hair, dead skin cells, and soap scum can make a mess out of your tub (and may even back things up.) Here are some strategies you can employ to get your tub in ship-shape!
Be sure to give the shower wall, tub sides, and floor a good scrub. Soap rings and scum can build up along the sides, especially if the tub fills with water or drains slowly. To loosen up all that grime, scrub in a circular motion with a flat brush. If you want to speed up the process, you can use a drill-powered scrubbing brush to clean faster and more efficiently.
![]() It’s all about grout!
It’s all about grout!
When cleaning your tub or shower, don’t overlook the little details! Grout lines around the edge of the tub and between wall tiles can be a haven for soap scum and dampen the appearance of your bathroom. You’ll also want to make sure you get into shower door tracks (if you have a shower door) and any other little pieces of trim that can collect dirt.
This is also a good time to check the silicone that keeps the water in your tub and out of the walls. Check for anywhere that it’s peeling or looks like it has started turning black. If you notice either of these things it would be wise to look into getting it replaced.
To clean these areas, you’ll want to use a thin brush with sturdy bristles. Toothbrushes work well for this (just don’t use one you’re actively using) or you can use the edge of a standard cleaning brush.
If you don’t want to fuss with all that precise hand scrubbing, we here at Drillbrush make a special wheel-shaped brush for cleaning grout lines and grooved surfaces called the Edge brush, which you can check out here.
 Splish splash, the tub’s takin’ a bath! (Though not necessarily on a Saturday night.)
When you’re all done scrubbing, wipe everything down to reveal that newfound shine.
If you have a detachable shower head, you can use it to spray off the shower walls and floor. When spraying, be sure to go from top to bottom, back to front. This will prevent dirty water from rolling over areas you just sprayed off and guide the filth towards the drain. The area around the drain should be the last sprayed.
Speaking of the drain...
Drains
 Insane in the drain!
When it comes to Bathroom messes, the drain can be tricksey. Not only are they difficult to get into, but if it gets backed up with too much gunk, you could end up with a far bigger problem on your hands. Luckily, there are a few solutions you can employ to keep the pipes clean!
 I’m sick of all these flippin’ snakes in this flippin’ drain!
A big one is to use a drain snake. Drain snakes are long, flexible, toothed tools that can be inserted into a drainpipe and pull out built up strands of hair. As someone with long hair, I often run the risk of clogging up the system, so having a tool like this is very helpful.
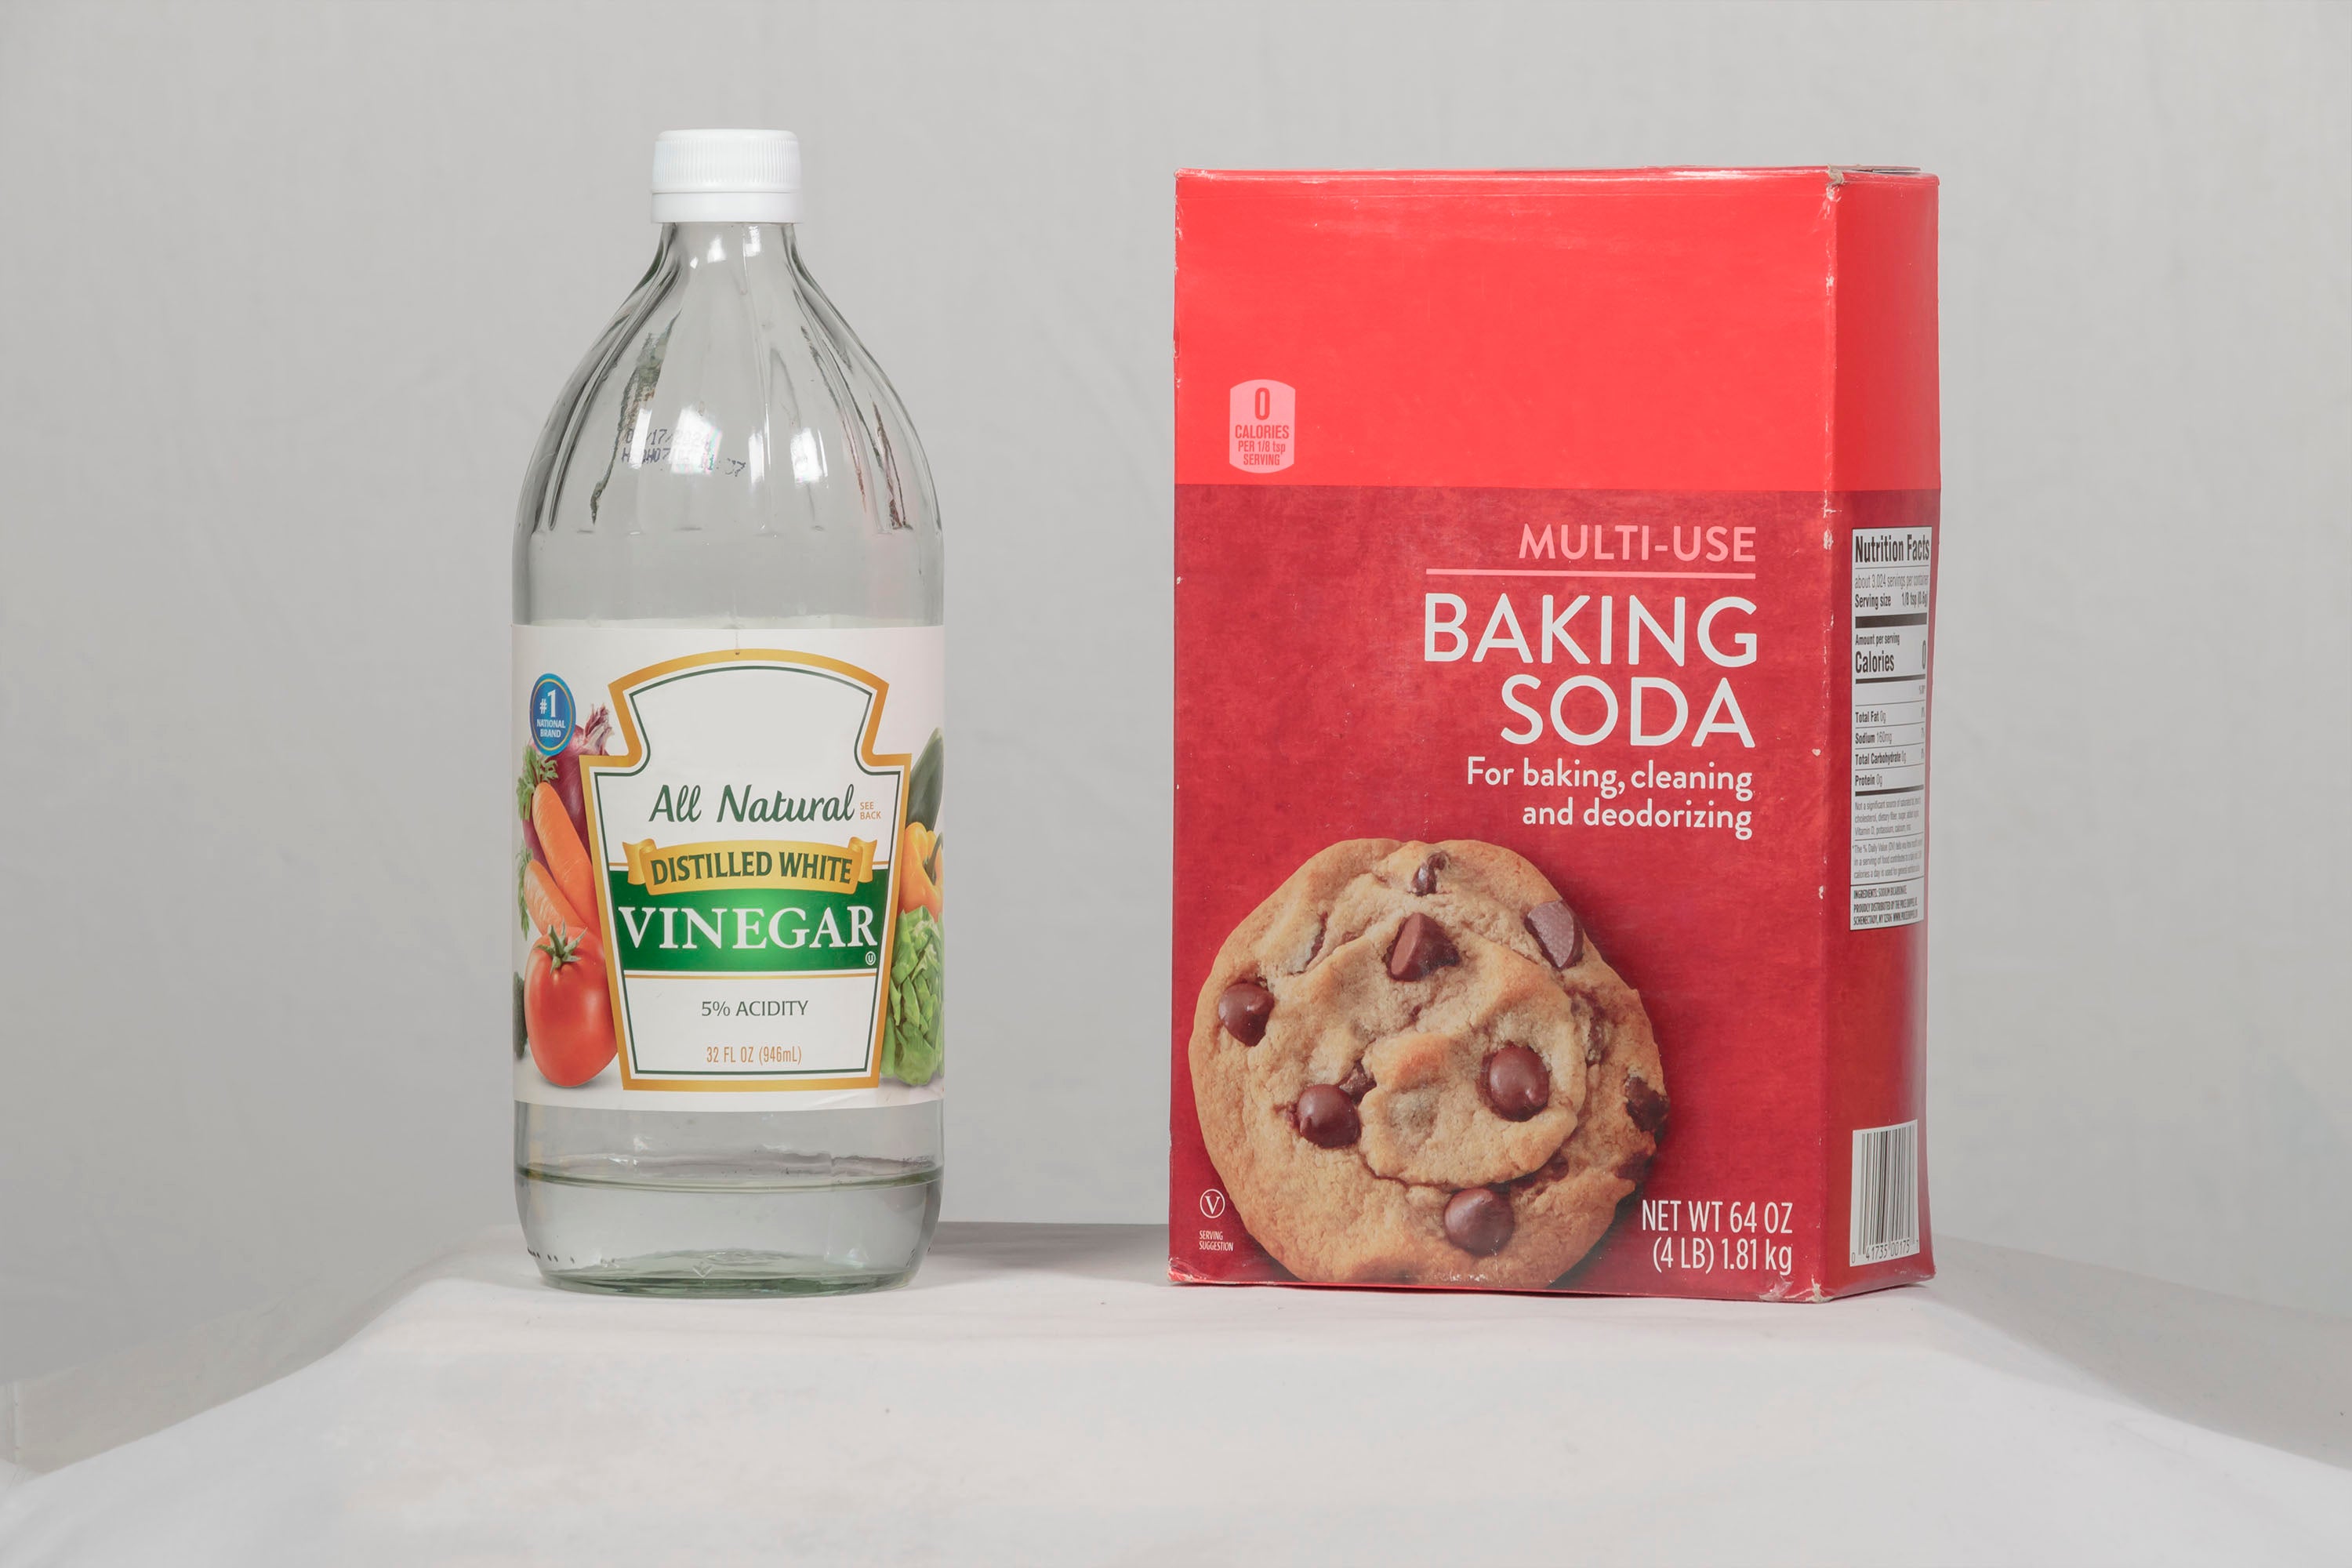 Ingredients for clear pipes!
There are a couple of strategies for unclogging a clogged drain. The first is a home remedy.
Baking soda and white vinegar can not only help you build second-grade science fair winning volcanos, but it can be used to unclog your drain. Pour some baking soda down the drain and follow it up with some white vinegar. The reaction between the two has the ability to vanquish less severe blockages.
 One of many brands of pipe unpluggers.
If things are a bit more stuck, try using a store-bought drain cleaner. Before making your purchase be sure to do some research on your pipes and the options at the store. Some compounds will damage certain pipe types. A little investigation now will save you large repair costs down the line.
Follow the instructions on the bottle, pour it down the drain, and rinse it through with hot water. Your clog should hopefully be fixed! However, if it isn’t, do NOT use a second chemical, as it may cause a toxic reaction that could be hazardous to you. Seek professional help if the blockage is too severe.
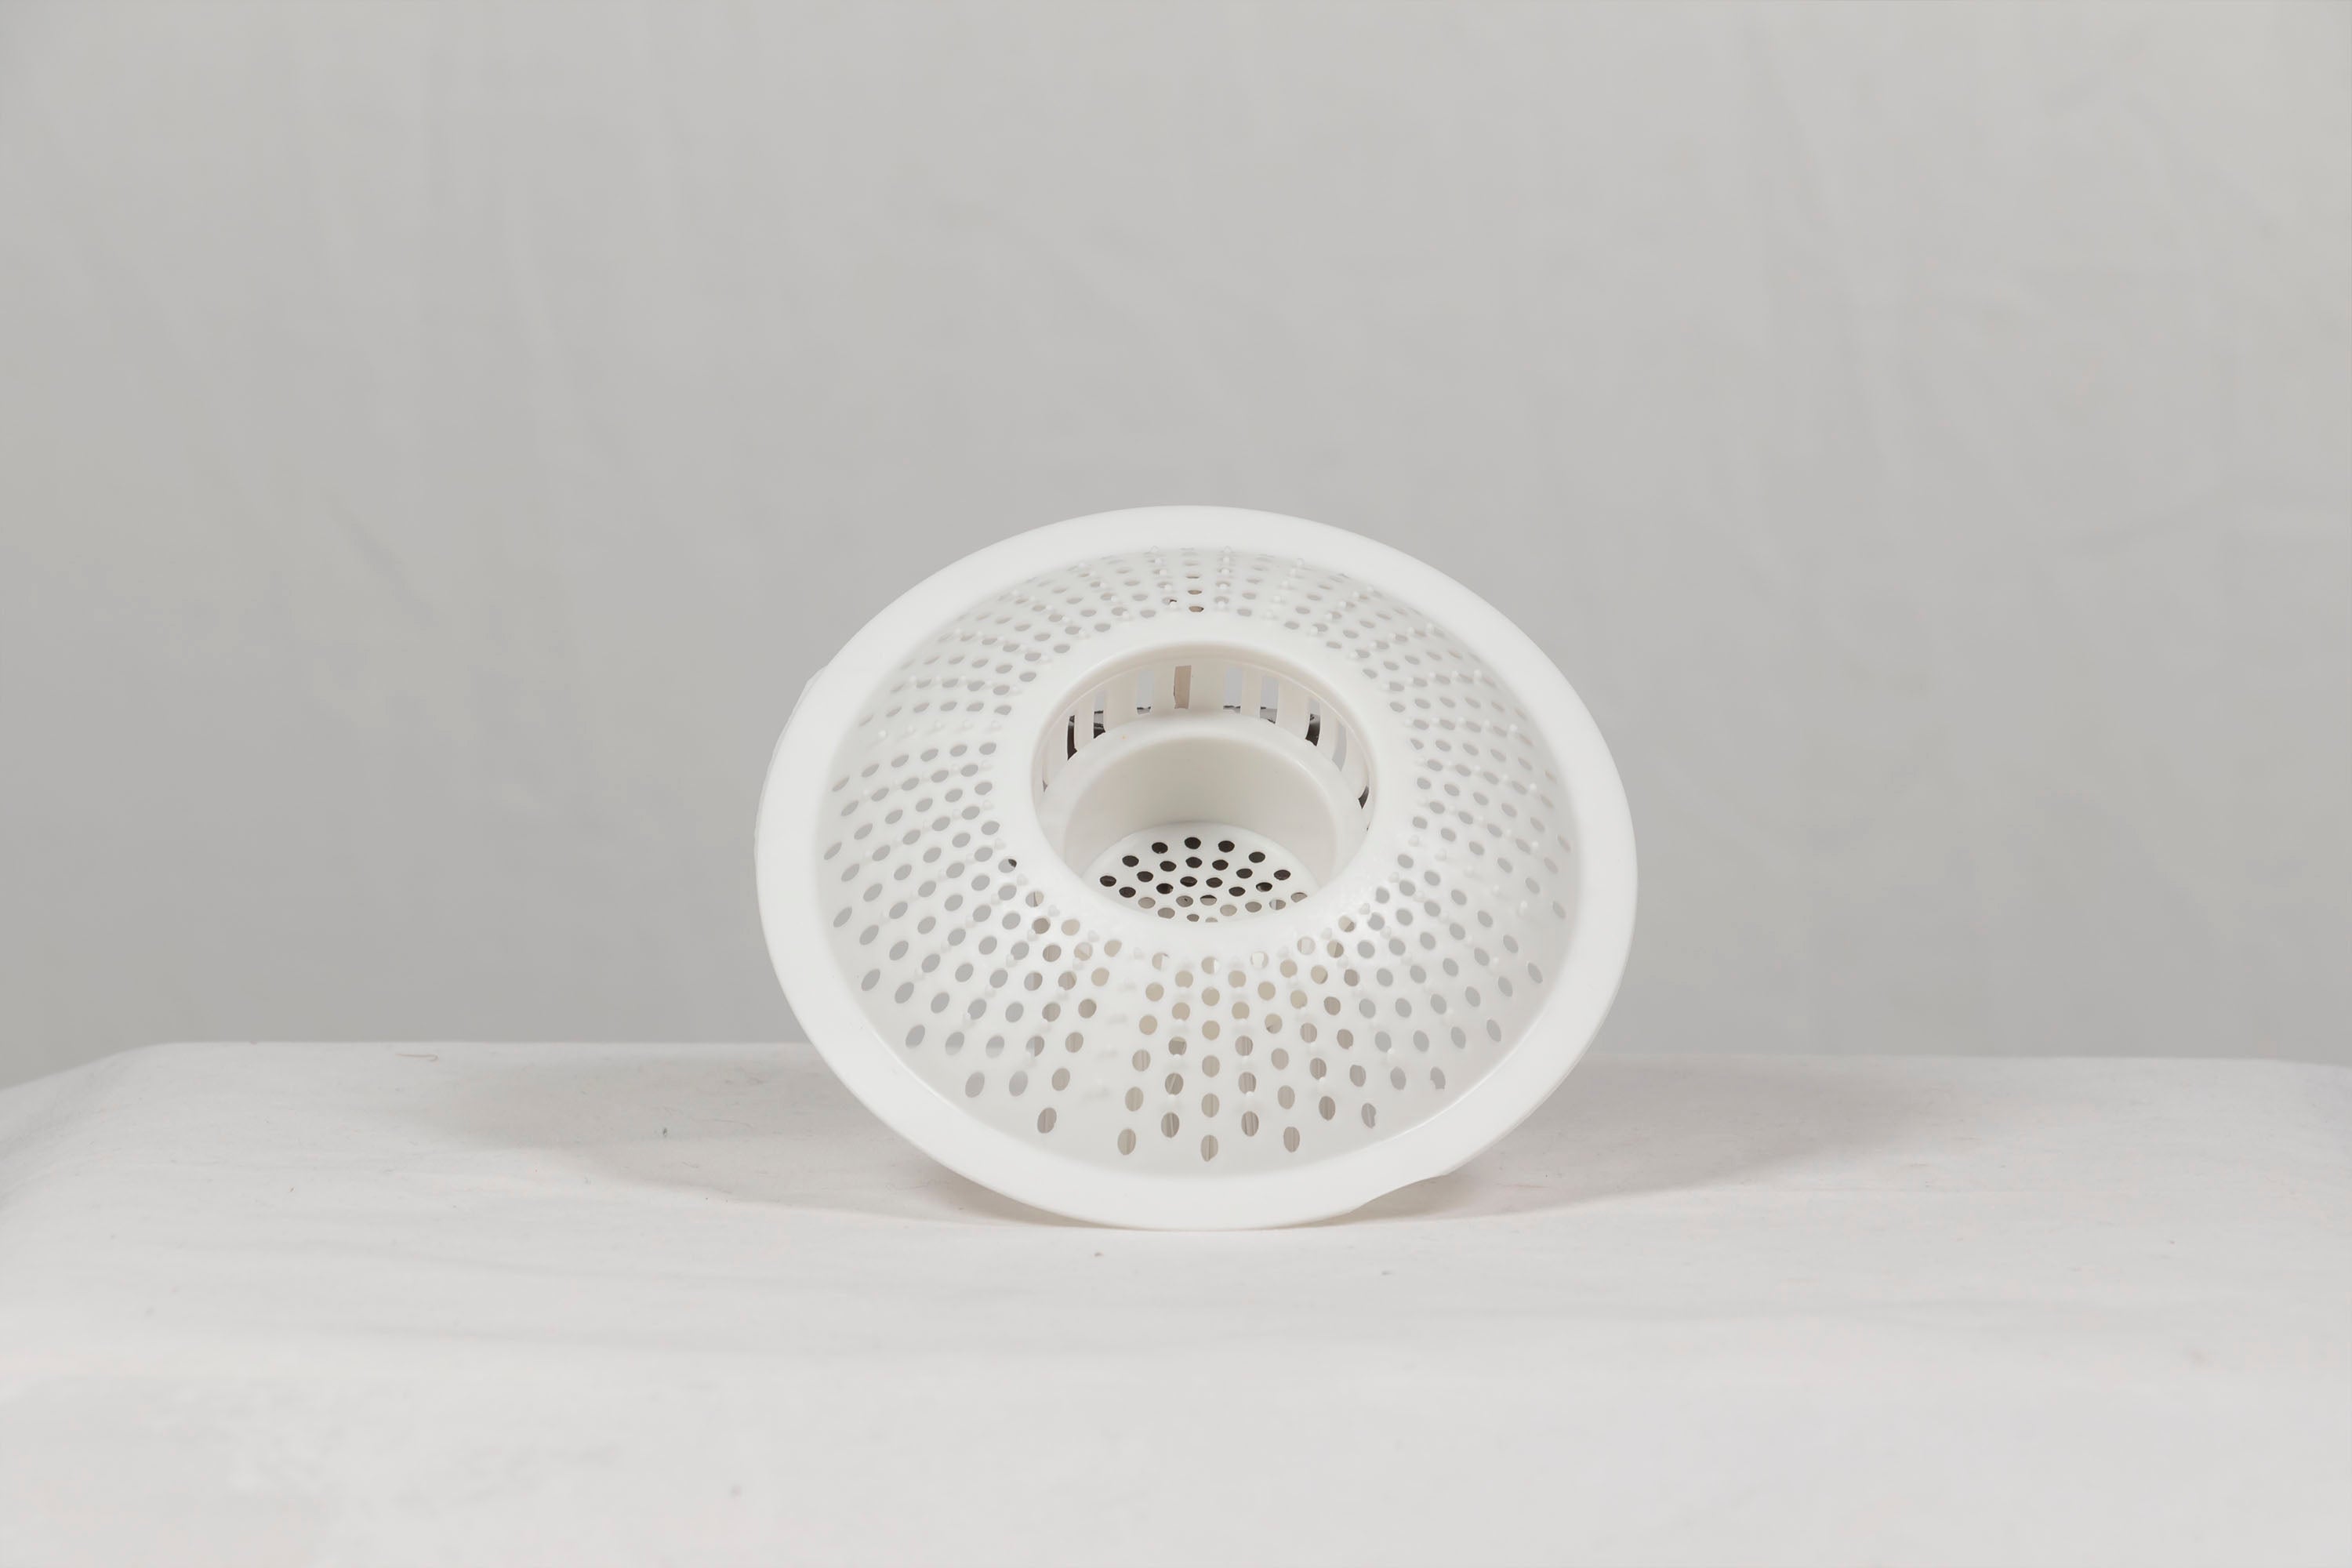 Didn’t have to strain to find pics of this.
Though to make sure you’re not having to use up your vinegar supply and snake your drain all the time, you can put in a strainer. Strainers are very common and go in or on the top of the drain. They have small holes that allow water to pass through but filter out hair and debris. Some even have bumps or special designs to increase their blocking prowess.
While water may drain slower with one installed, it’s well worth it to save on the hassle. Though make sure you take the time to clean the strainer as well, as eventually grime will build up on the holes and can make draining inefficient.
[mini-drain.jpg / picture of Y Orig cleaning around a drain]
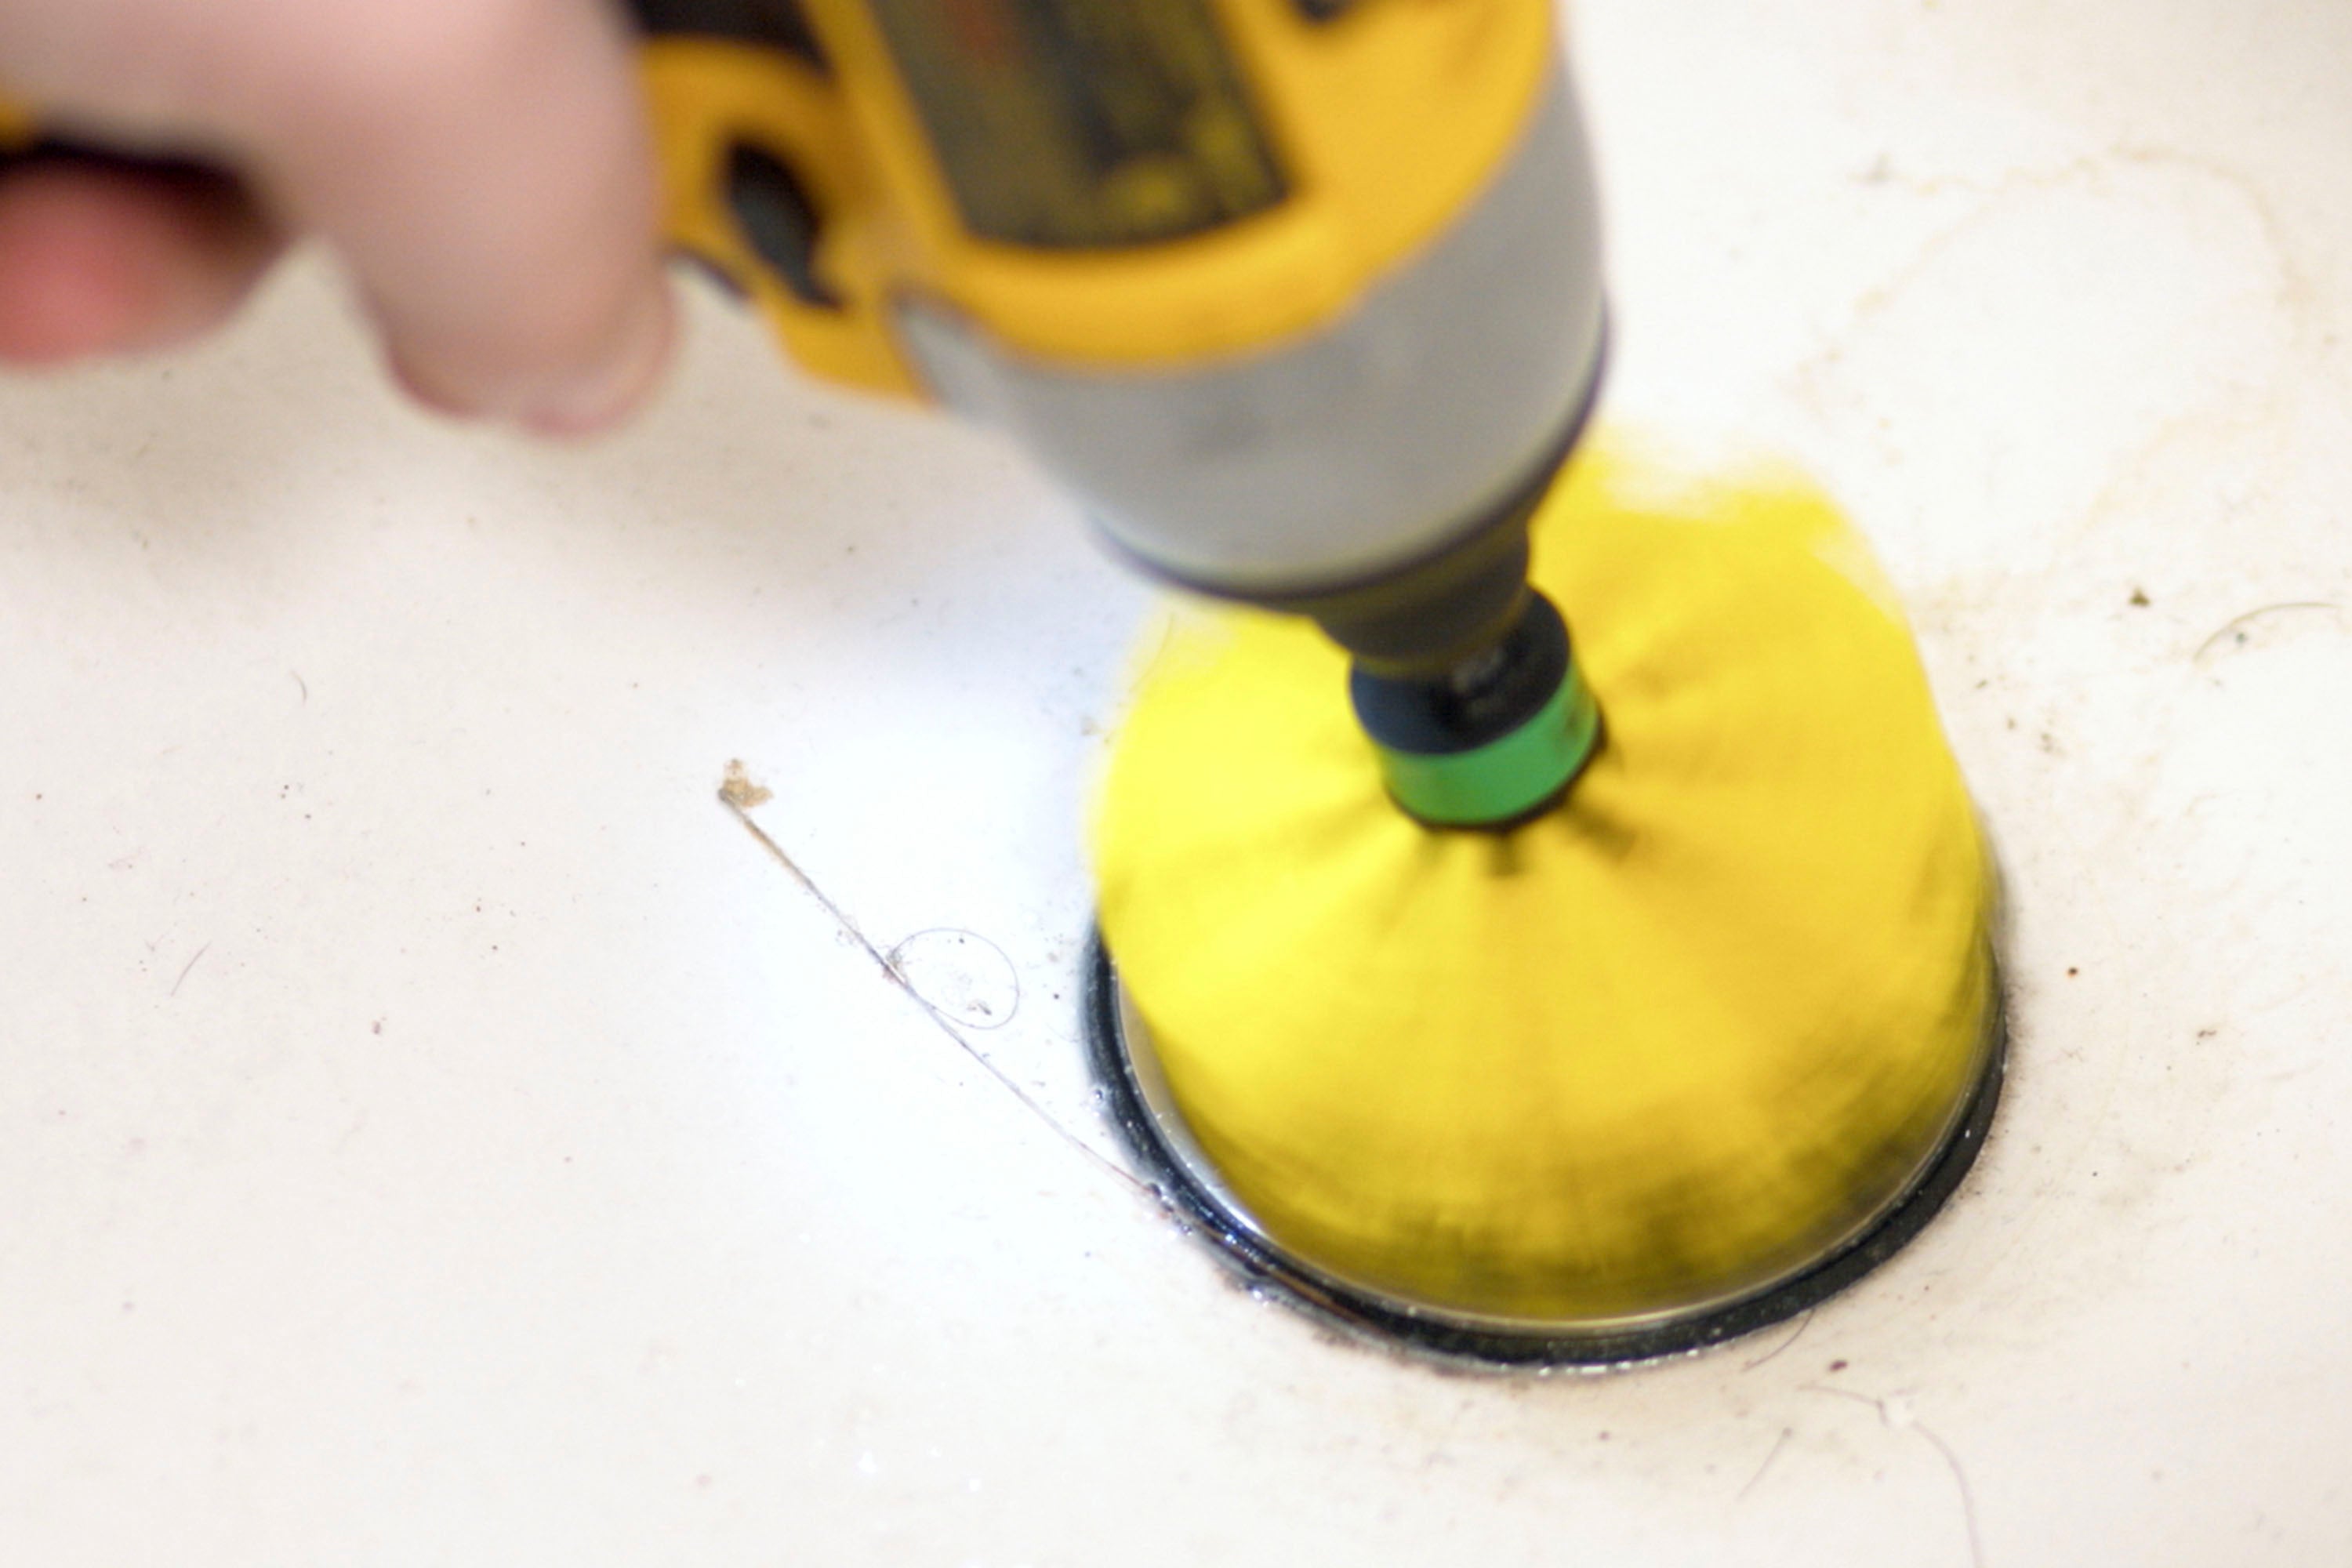 Cleaning ‘round the drain!
Drillbrush products are also useful around the drain. While we do not make anything that goes into the pipe, our Mini and Original brushes are great around the drain’s entrance. Using the rounded tip, you can pull surface level hair out of the drain before it gets knocked further in.
Additionally, the ring around the drain can get extremely dirty when rinsing the tub as all the dirt that slides off the tub walls gathers around the drain hole, so I find myself going back over that section with an Original brush (or even a spot cleaner like a 2 inch brush) to clean up any residual residue.
Tile and Grout Cleaning
 Stuck in the middle with you!
Tiled flooring and trim are a common bathroom staple and a major source of headaches when it comes time to clean them. The grout between each tile is a trench that captures all sorts of filth, discoloring the grout and being very difficult to scrub.
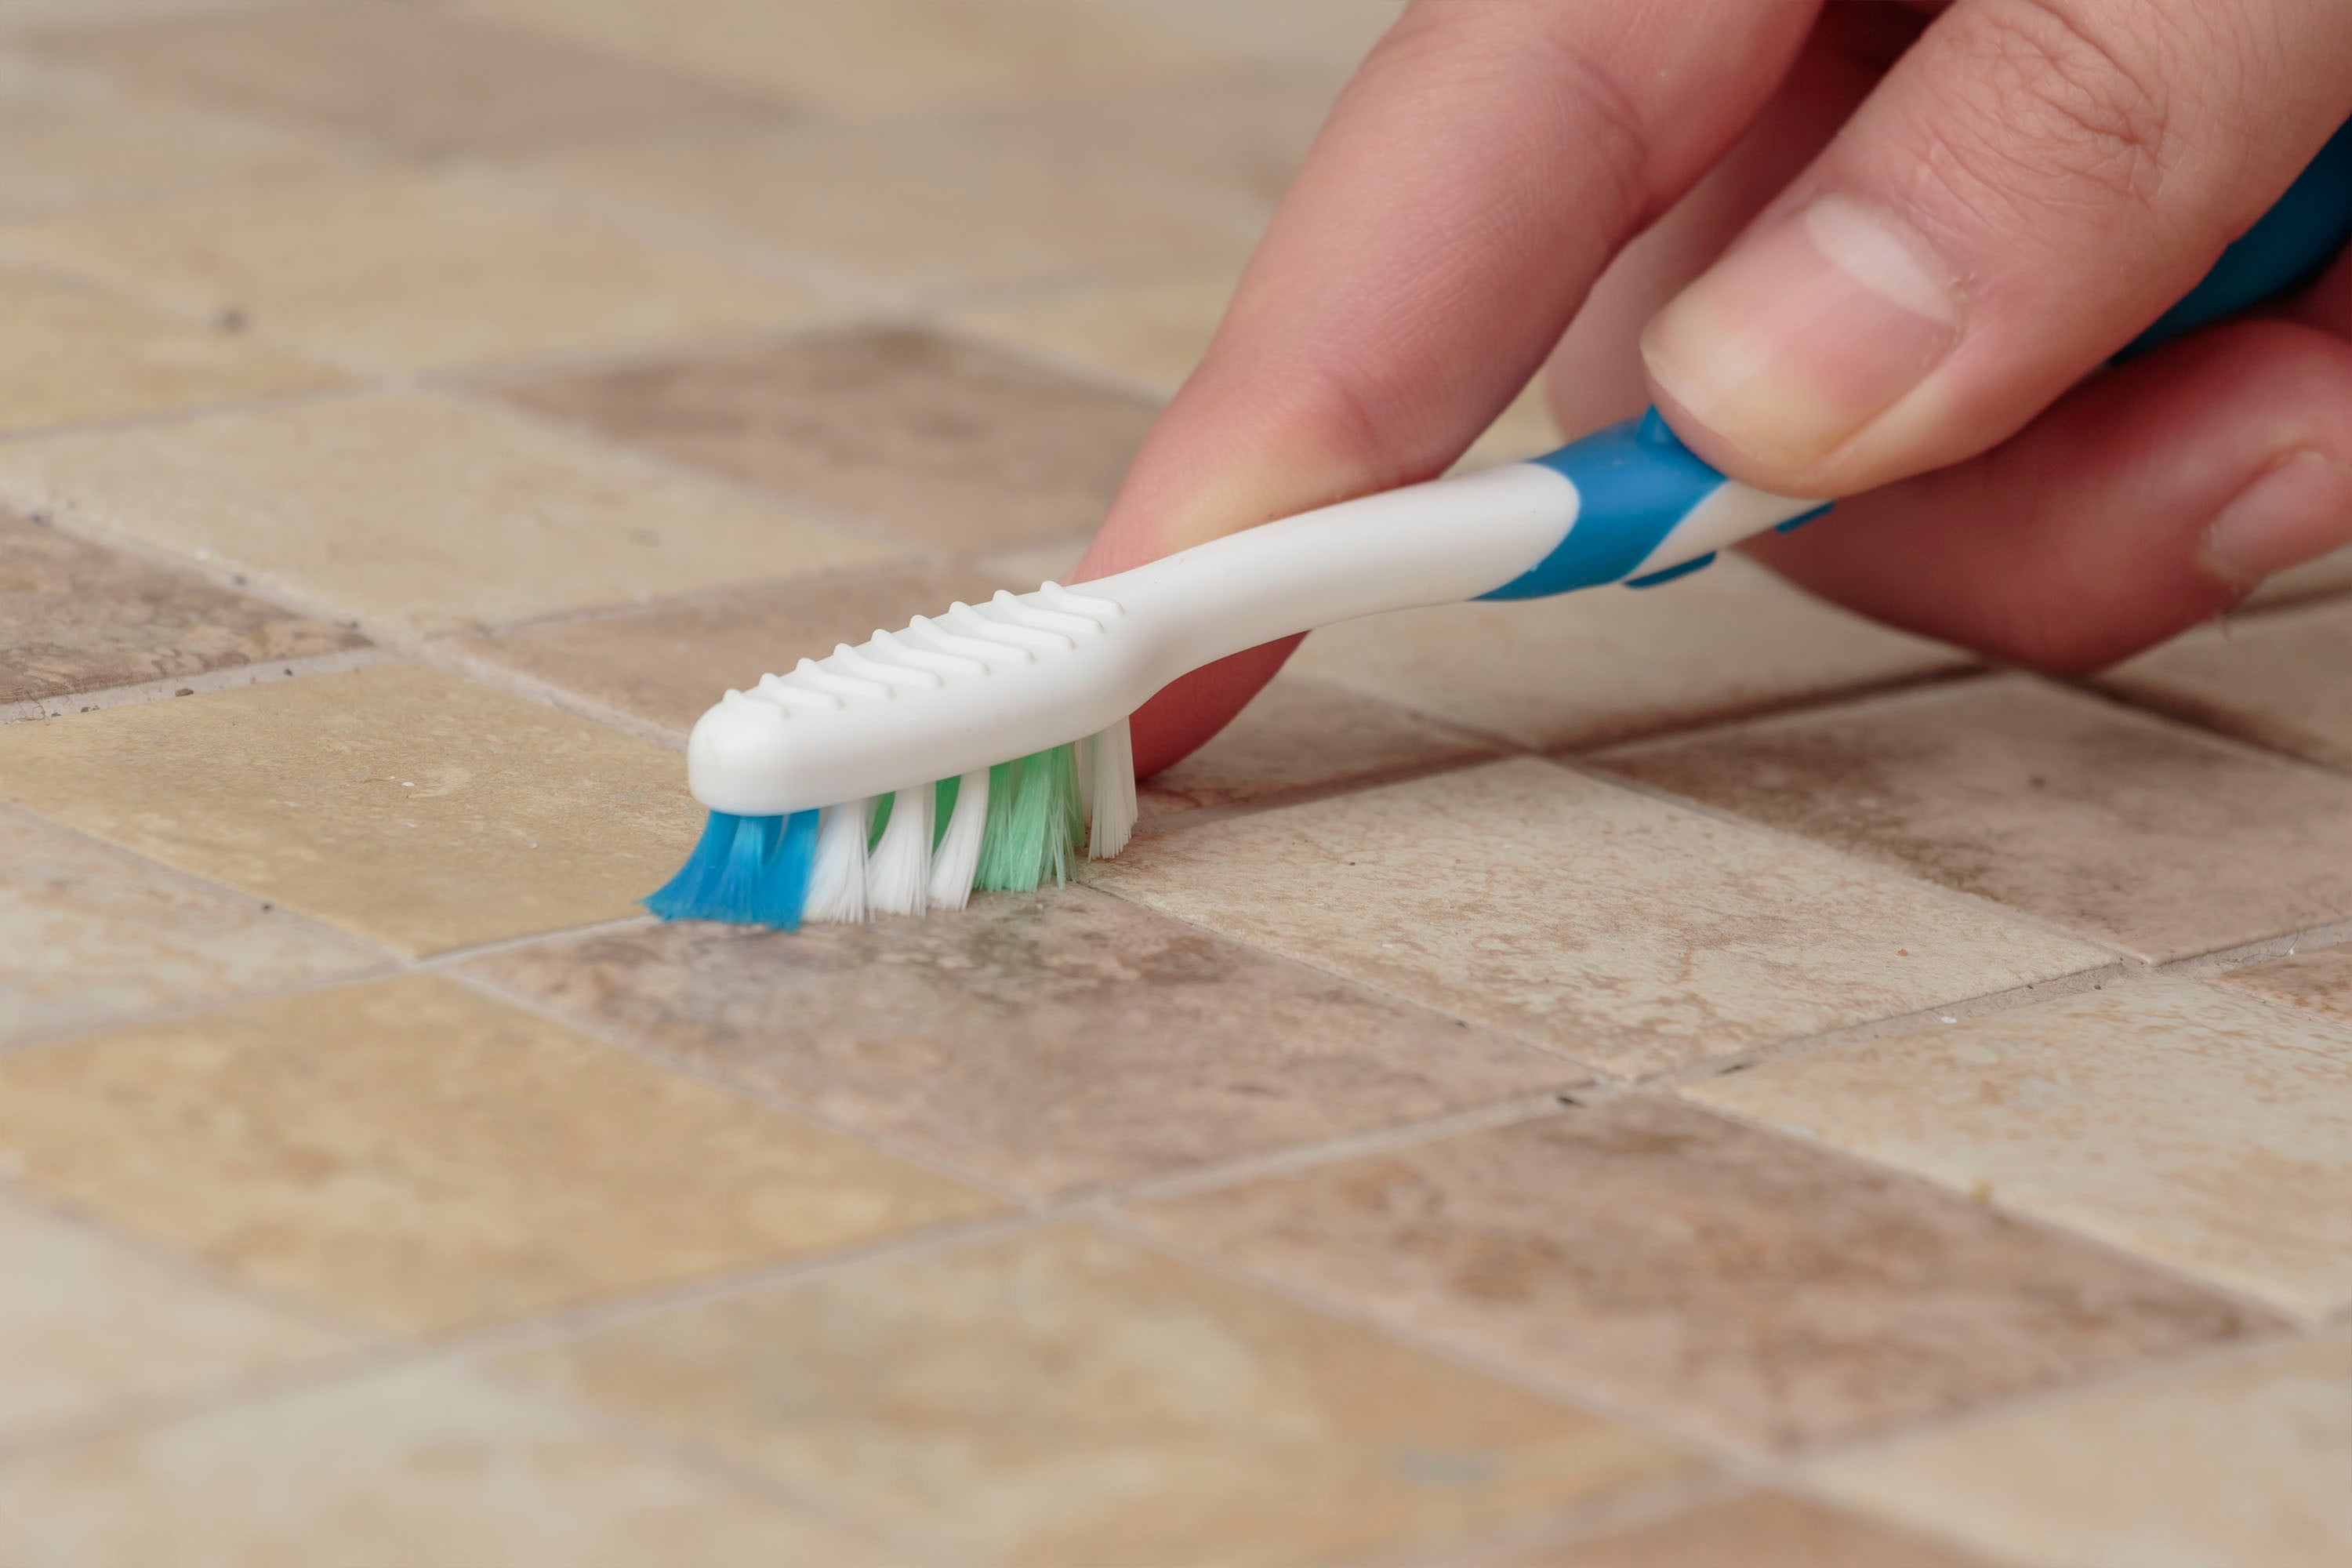 9/10 dentists think that toothbrushes are exclusively for teeth, but that renegade 10th dentist has other plans...
To get in there, you’ll want to use an old toothbrush or something equally as thin. Using a scrub brush with a wide surface area doesn’t allow the bristles to get into the grout as well. Toothbrush-style heads are finer and more precise.
To clean, just put down a line of cleaner along the grout and scrub ‘til it shines!
[edge-grout.jpg / picture of Y-Edge cleaning gout]
 The faster method!
If you don’t like the notion of vigorously scrubbing grout lines and would rather save the toothbrush for its namesake, you can use a drill-powered brush to get the job done faster. As mentioned earlier, Drillbrush makes a wheel-shaped Edge brush that’s built to get into grooves and grout. It does a pretty efficient job and is great if you have a lot of lines to scrub.
You can also use a Drillbrush 4 inch or 5 inch flat brush at a 45 degree angle to achieve a similar effect.
While you are cleaning the grout betwixt your tiles you should check to see if it needs maintenance. If you notice any spots that are stained or chipped away you can repair them if you feel the need. Most big box hardware stores sell grout and the tools needed to make small repairs. Just make sure you don’t get the wrong color and end up with miss matched grout.
Toilet Cleaning
 Cleaning the throne!
Nothing makes a person recoil in disgust quite like cleaning a toilet. You don’t have to imagine too hard as to why, but luckily cleaning your latrine is pretty straightforward.
For bowl-based concerns, pour a toilet cleaner of your choice around the inside and scrub around the bowl with a toilet brush. For tougher stains apply a bleach based cleaner and let sit for roughly 30 minutes. Then scrub again as needed. When you’re done, simply flush the toilet and walla! A toilet so shiny, you won’t want to soil it!
You may wonder if Drillbrush, the writers of this article and makers of a plethora of drill-powered cleaning brushes, make a drill-powered toilet brush. While the toilet brush was the basis for our Original brushes, we know full well that cordless drills and toilet water do not mix.
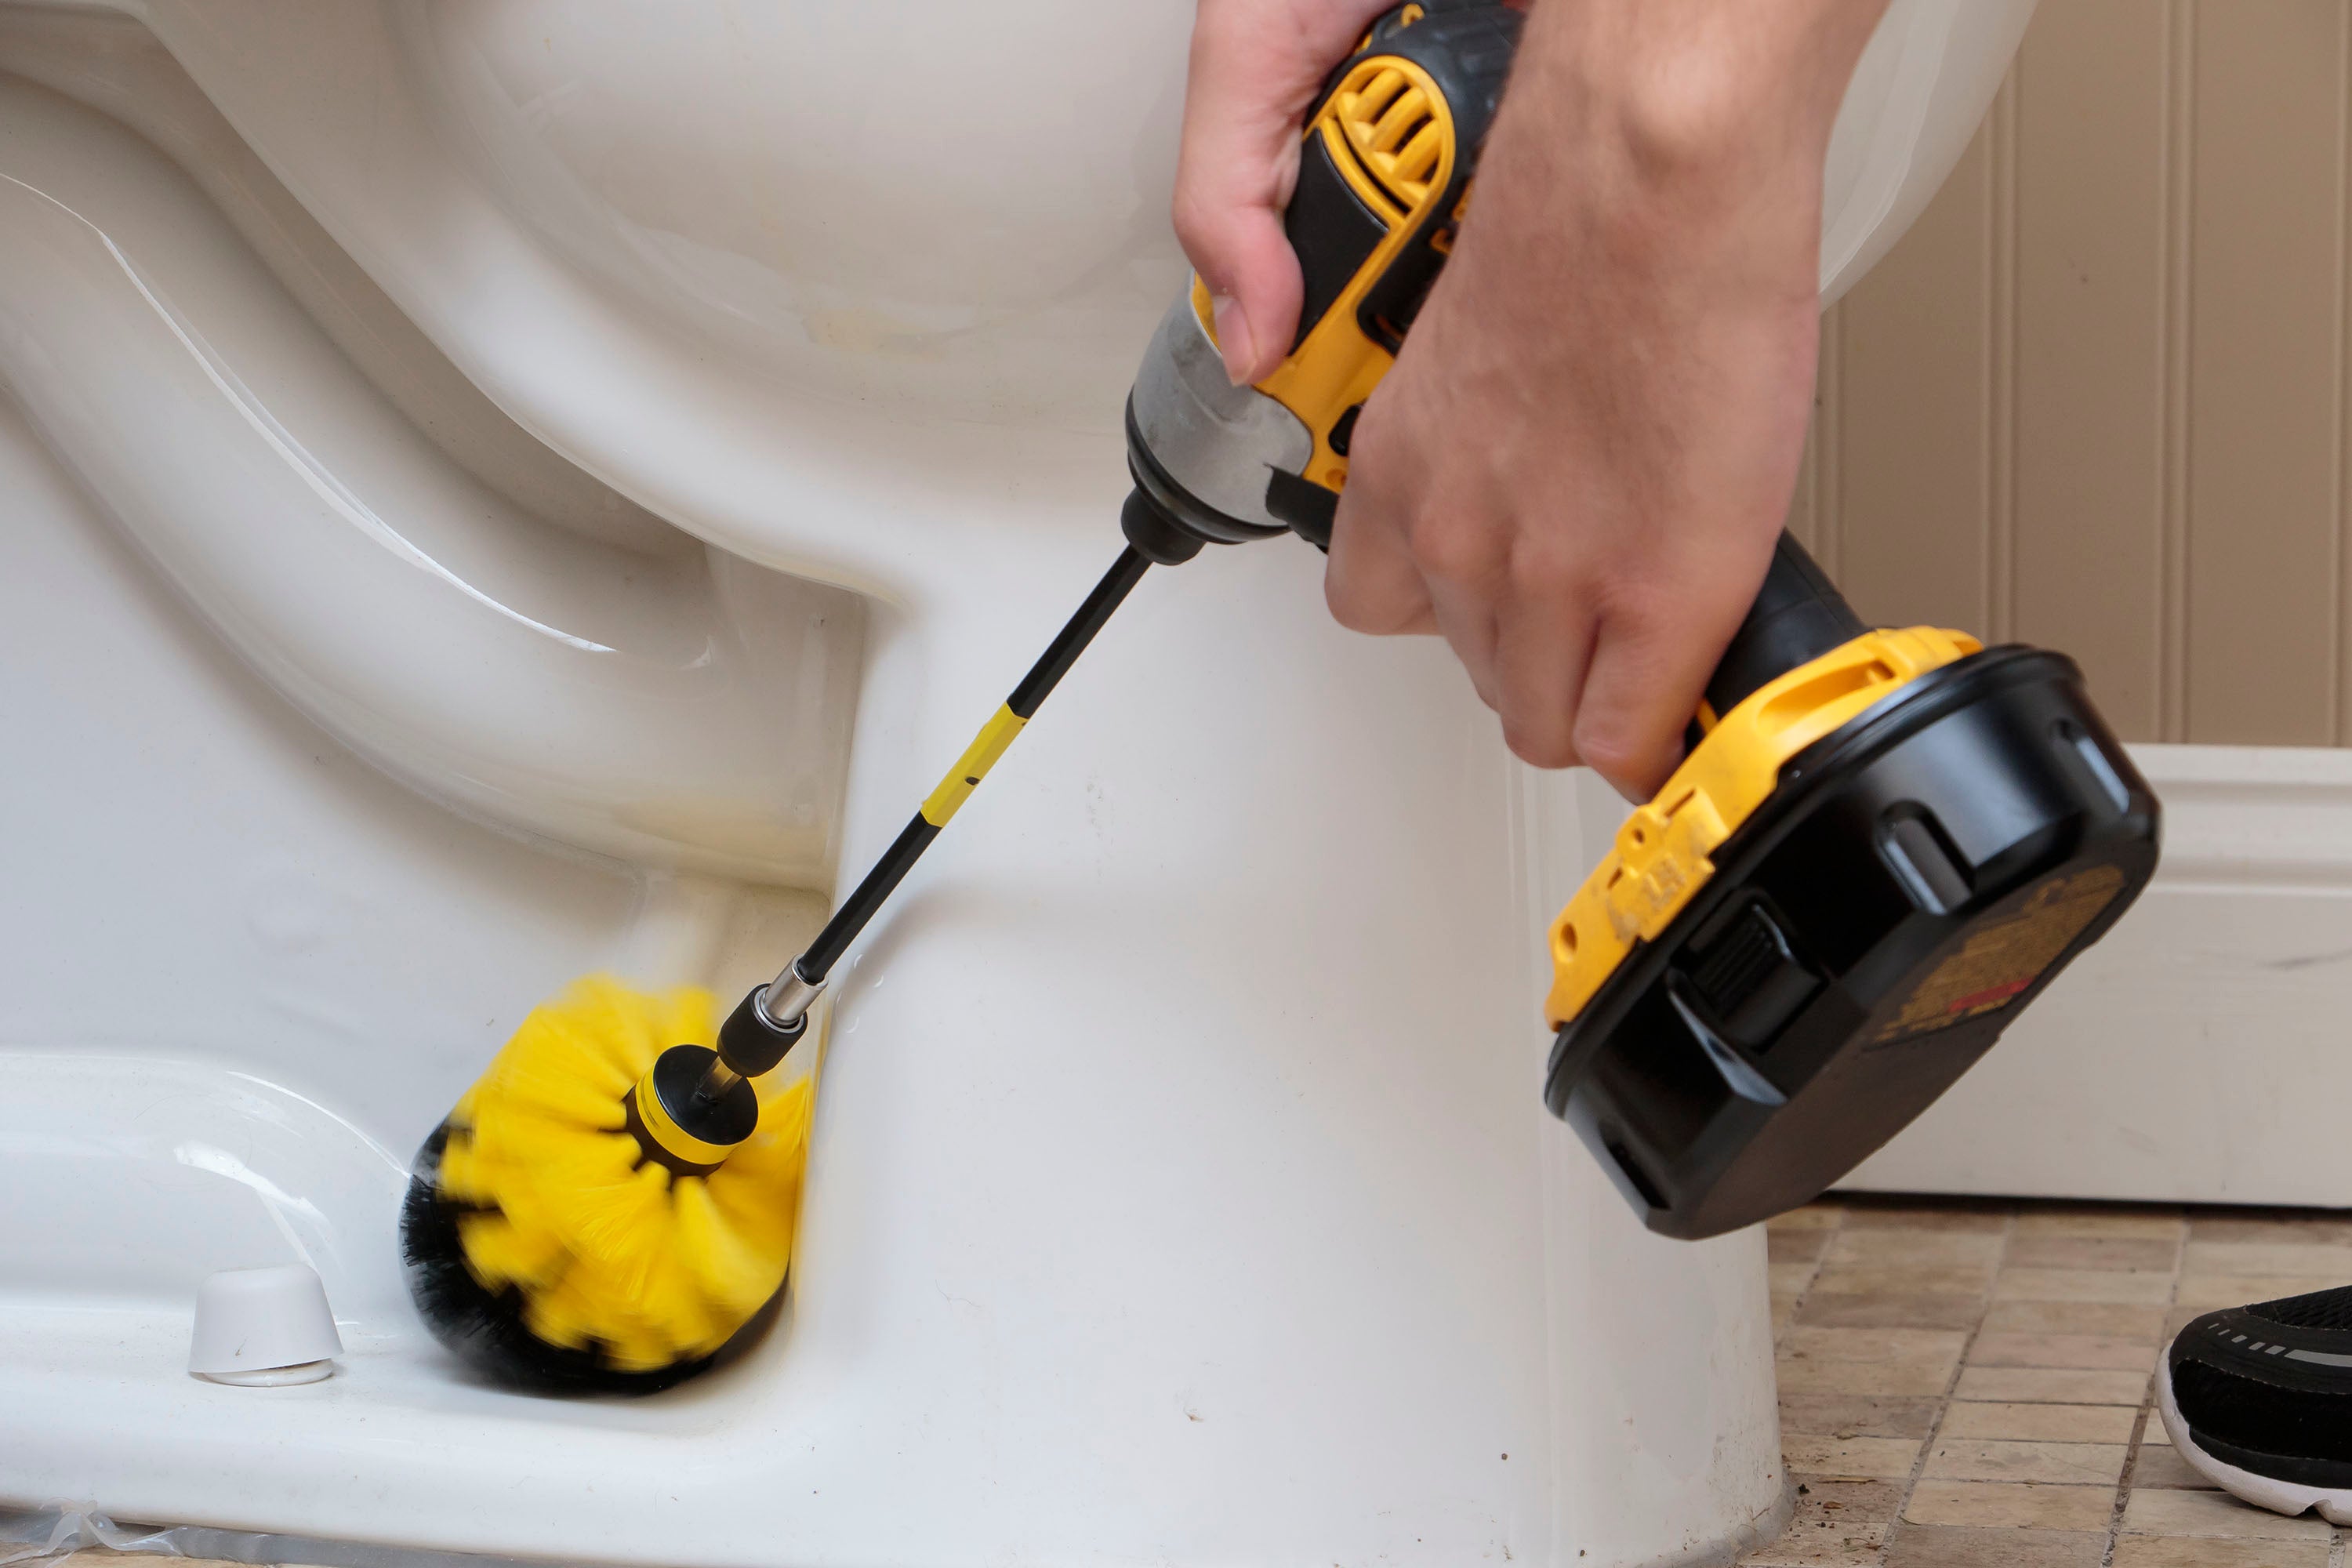 Don’t forget to clean back here too!
One place you can use a Drillbrush, however, is around the base of the toilet. Even if no one ever misses there are some unseen splashes that escape, coating the area around your toilet in hard-to-notice splatter.
Use a disinfecting cleaner and thoroughly scrub around the rim, base, and tank of the toilet. Be sure to spray down the floor around it and any walls or barriers next to the toilet as well, taking care to scrub thoroughly.
If you need help getting back there (or want to distance yourself as much as possible) try using one of our brushes with an extension.
Keep Condensation Low
 Turns condensation into “Non-densation!”
You shouldn’t just clean the bathroom when it’s dirty. Try to employ habits that will cut down on the cleanup next time Spring Cleaning comes around.
Reducing the amount of moisture in the bathroom will help in strides. Mold, mildew, and fungi thrive in damp environments. You can combat them by making sure your bathroom has proper ventilation. Run a vent while you shower or crack open a window when you’re done. This will reduce the moisture that builds up on your walls.
Though make sure your vents are clean too. You wouldn’t want your efforts to fall flat due to poor air circulation. You can read our suggestions for cleaning vents here.
A Squeaky Clean Latrine
Want more Bathroom cleaning tips? You can check out our video on the subject! And if you’re looking to clean more obscure bathroom messes, you can check out our blog on 5 Bathroom Objects You Forget to Clean.

Leave a comment